by Hollie Strack
If you’ve been out hunting for the perfect journal for yourself or for a gift then you, like many others, have come to realization that journals are EXPENSIVE! You could end up paying upwards of $30 for a journal, and it won’t even be customized in any way. Here is a very inexpensive way to create a personalized journal for just about anyone you know, including yourself.
Step One:
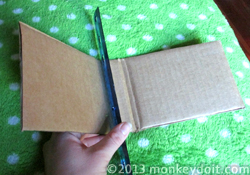
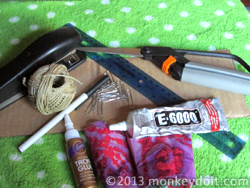
Cut a piece of cardboard from your box, any size you wish. Score a ¾” to 1” binder area in the center of the cardboard. You can do so using a ruler, make sure it is wooden or metal though as plastic ones may not be able to crease the cardboard.
Step Two:
Next you need to create a cardboard “loom”. If you don’t know how to create a cardboard loom, don’t worry you can get cardboard loom instructions here.
Step Three:
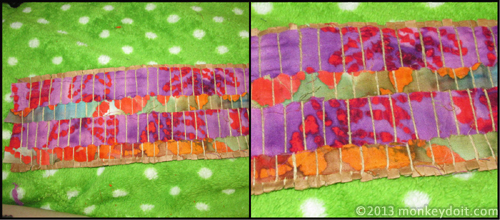
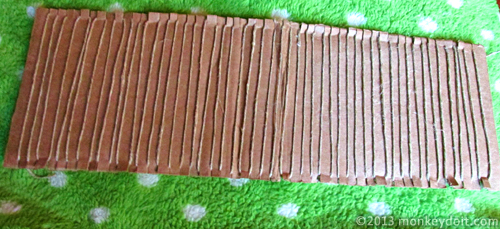
Next you will use your fabric strips to weave the loom. When you’ve finished weaving the loom, cut the excess from the fabric strips; Making them even with the cardboard.
Step Four:
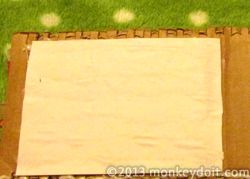
Glue decorative or plain paper to the insides of the cardboard.
Step 5:
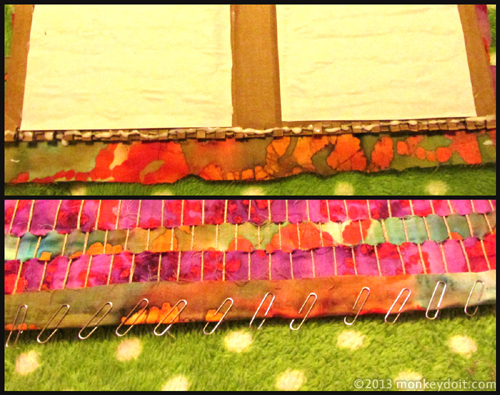
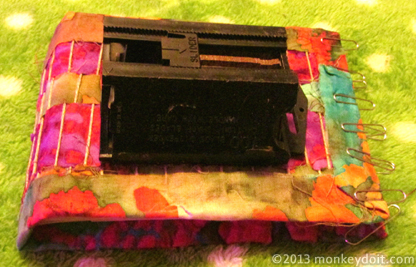
Apply the edging to the loom. Do this by gluing the fabric down to the edging of the loom; you want to use half of the fabric on each side. Place paper clips to the edging until as you move along. You want to keep these in place until it is completely dry to hold it in place. You can use bias tape to do so but it is not necessary. You can also use a piece of scrap fabric if you have enough.
Step 6:
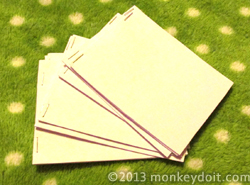
Cut and fold paper for inside of notebook in half. Create a few stacks of 6-8 pages. Make sure the pages are wide and tall enough to fit the book, but should be about ½” smaller than the size of the book; Staple twice along the fold of the stacks of paper.
Step 7:
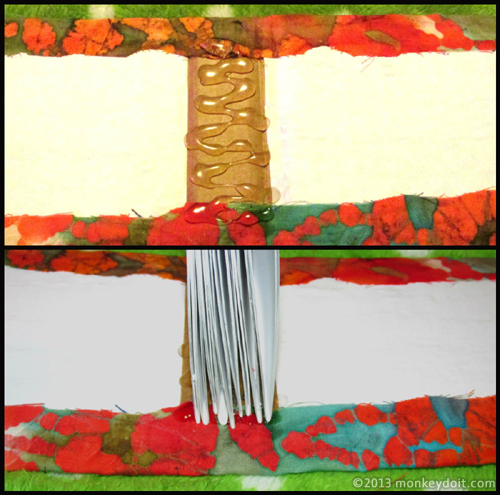
Bind the pages to your notebook. Put a line of epoxy on the inside binding of the cover and place the folded side of the pages onto the epoxy.
Step 8:
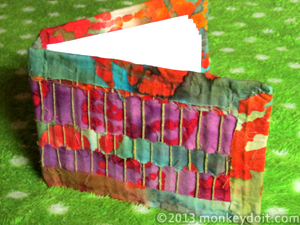
Fold the book in half and place heavy books or another heavy object on top of it. Let the epoxy dry for 24 hours. Then your notebook will be ready to use or gift!
Related Pages
![]() How To Make Diamond-shaped Earrings Out Of Beads
How To Make Diamond-shaped Earrings Out Of Beads
How to make diamond-shaped earrings out of beads using a Brick Stitch.
![]() How to Create a Bracelet with a Sliding Clasp
How to Create a Bracelet with a Sliding Clasp
Tutorial that shows you how to create a square knot sliding clasp for jewelry.
![]() How To Make A Dream Catcher For A Child
How To Make A Dream Catcher For A Child
Step-by-step instructions for how to make a Dream Catcher.
![]() Create a Fun Flower-Pot out of a Plastic Cup
Create a Fun Flower-Pot out of a Plastic Cup
A fun flower-pot project great with or without children.
![]() How To Make A Plastic Bottle Bird House
How To Make A Plastic Bottle Bird House
A simple bird house using a plastic bottle that costs next to nothing to make.