- MONKEYDOIT LINKS
- Home
- Beading & Jewelry Making
- Clay Basics
- Fun Paper Crafts
- Home Decor
- Projects with Fabric
- Easy Crafts For Kids
- Arts & Crafts Ideas
- Search
- OTHER SITES
- Sleewee
- Worklooker
- Jobspector
How To Make Diamond-shaped Earrings Out Of Beads
by Joanna Ochocinska
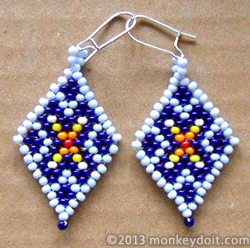
I won’t lie to you (at least not this time); this project will be challenging and when I say ‘challenging’, I mean patience-testing, eye-straining, will power-crushing and muscle-cramping - a bit like working out. However, as any personal trainer will tell you, you have to work hard if you want to see results. The good news is that with beading the results come faster and you smell better in the process. And the results? Pure awesomeness made of beads dangling from your ears! Totally worth the pain...
To make the earrings we will be using a ‘Brick Stitch’ also referred to as ‘Cheyenne Stitch’ or ‘Comanche Stitch’. The pattern of the final product resembles a brick wall in which individual beads are stacked on top of each other like bricks. The stitch is very common in Native American bead craft but it has also been used in Africa and the Middle East. This technique has many variations which can be used to make bracelets, earrings, pendants and to decorate objects. In this particular instance, we will be using a decreasing brick stitch which means the number of beads decreases by one as we move up from one row to another. The brick stitch is not easy to work with, especially at the beginning, because it has a tendency to warp. That’s why it’s best to use fusion beads which are not rounded at the edges or very good quality seed beads with as little variation in shape and size as possible.
You also need to consider the size of your earrings. If you’re working with size 10 or 11 seed beads like me, the minimum width of your design should be 11 beads in the widest row which is about 2,5cm. There is no maximum width. Seed beads aren’t very heavy so, no matter how big your earrings are, they shouldn’t weigh down your ears. However, I would stop at 23 beads across unless you want your ears to look like Dumbo’s.
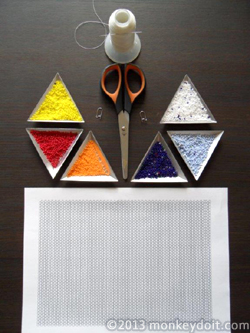
Materials Needed To Make Diamond-shaped Earrings Out Of Beads
1. Seed beads / fusion beads of different colours
2. Scissors
3. Thread
4. A needle
6. Brick stitch graph paper (click here to download printable graph paper)

How To Make Diamond-shaped Earrings Out Of Beads Step By Step
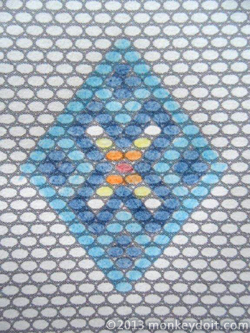
1. Create your own design by colouring in beads on the graph paper.
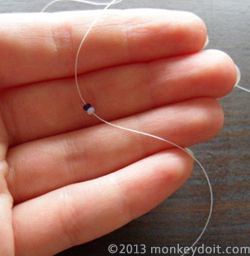
2. Cut a 1,5 metre piece of thread.
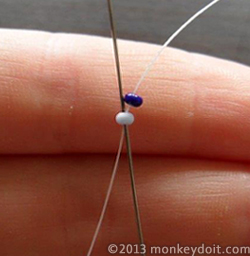
3. We begin working on the earrings from the widest row in the middle. String two beads corresponding to your design onto the thread and push them down to a few centimetres from the end of the thread.
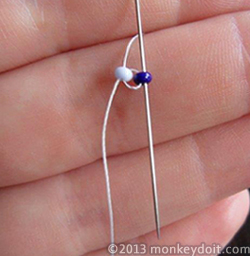
4. Bring the needle back up through the first bead.
5. Push the needle back down through the second bead.
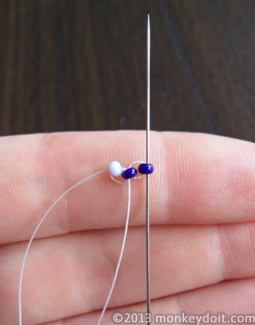
6. Slip another bead onto the thread and push the needle down through the preceding bead and then back up through the new one.
 |
 |
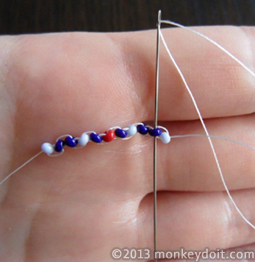
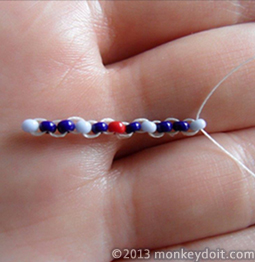
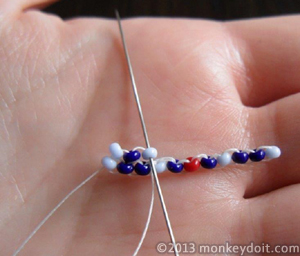
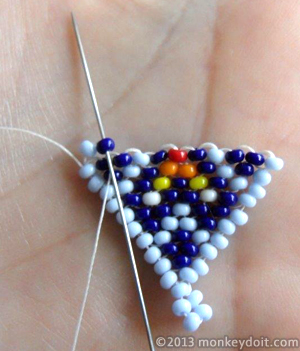
7. Keep adding beads this way until you reach the required width of your earring.
8. At this stage the foundation row is quite wonky which could ruin the whole design. To straighten it out go back through all the beads again with a wavy motion so that there are two layers of thread connecting each pair of beads.
 |
 |
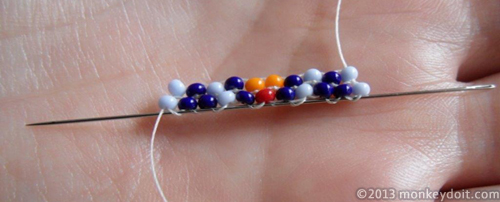
9. Move on to the next row of your design. Slip two seed beads onto the thread and slide the needle underneath the second thread bridge connecting the beads of the foundation row.
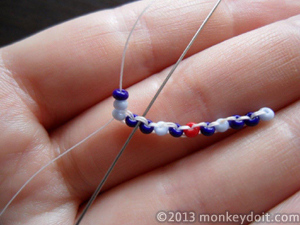
10. Bring the needle up through the second seed bead you’ve just added.
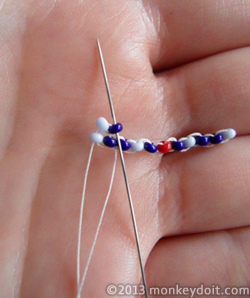
11. String a single bead onto the thread and slide the needle underneath the next thread bridge connecting the beads of the foundation row.
12. Push the needle back up through the newly added bead.
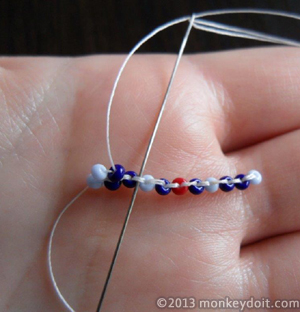
13. Keep adding beads one by one repeating steps 11 and 12 until you reach the end of the row.
14. Keep adding rows on top the same way. Remember to add two beads at once at the beginning of each row and then single beads for the remainder of the row.
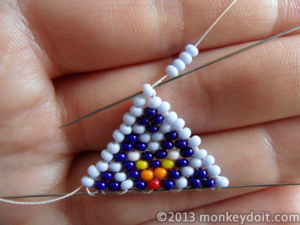
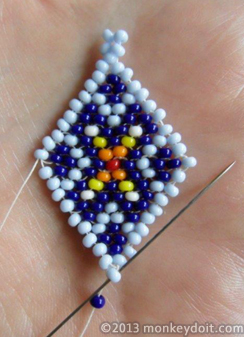
15. After you’ve added the second row, you can slip another needle through the threads underneath the foundation row for support and to prevent warping.
16. Once you only have one bead at the top make a loop with 4 beads.
17. Push the needle all the way down through the side of the earring.
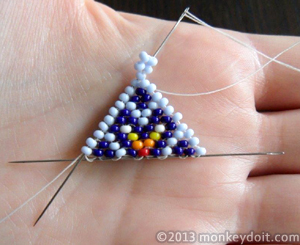
18. Remove the needle securing the foundation row.
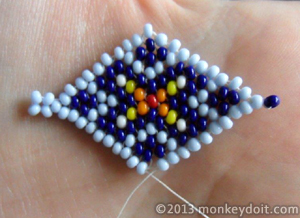
19. Continue as before adding rows at the bottom (steps 9-13).
20. Finish by adding one more bead of your choice and pushing the needle back through the side of the earring all the way down to the loose end of the thread.
21. Tie the thread ends together.
22. Add the earring hook by sliding it through the loop at the top of the earring.
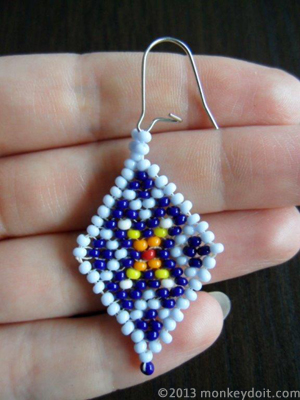
Be careful not to pull on the thread too much at any point. The beads should fit together loosely. If they’re too tight, your design might get distorted or the whole earring might roll up. Try flattening it out on the table every now and again. If you need to, you can stretch it out by pulling the opposite ends of the earring delicately and then twisting them in different directions. If this doesn’t work and your earrings roll up or twist, you can always say you developed a new 3D beading method in order to transcend the limits of two-dimensional jewellery. That should earn your earrings some well-deserved respect!
Related pages
How To Make Beaded Earrings With Fringe | How To Decorate Hoop Earrings With Beads