- MONKEYDOIT LINKS
- Home
- Beading & Jewelry Making
- Clay Basics
- Fun Paper Crafts
- Home Decor
- Projects with Fabric
- Easy Crafts For Kids
- Arts & Crafts Ideas
- Search
- OTHER SITES
- Sleewee
- Worklooker
- Jobspector
How To Make A Netted Bracelet Out Of Beads
by Joanna Ochocinska
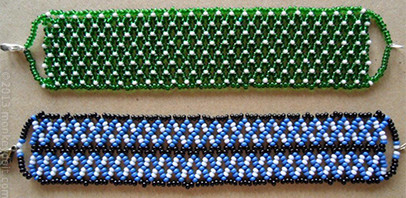
Netting is one of the easiest beading techniques and it produces beautiful results. Bead netted artifacts have been found all around the world, some of them dating back to 7th century B.C. This technique is incredibly versatile. You can create a range of flat rectangular and triangular shapes for bracelets, necklaces or chokers as well as circular pieces for earrings or ornaments. It was used in Ancient Egypt to weave sections of garments, in North and Central America as jewellery or embellishments on costumes and in Africa to create decorative pieces. As I mentioned before, it’s not very complicated. In fact, you would have to be very distracted to mess something up; so unless you’re attempting to make a netted bracelet while parallel parking a monster truck in a shopping centre car park on the last weekend before Christmas, you should be fine. Of course, once you master netting, you won’t even need to visit the shops before Christmas. I’m convinced your entire family will truly appreciate their netted goodies: your mum will love the bracelet, your sister will have her ears pierced just to wear those earrings and your dad won’t be able to resist using his beautiful and practical netted fly flap.
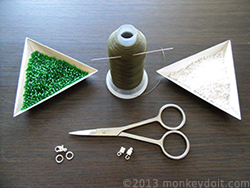
Materials Needed To Make A Netted Bracelet Out Of Beads
- Seed beads - 2 colours
- A needle
- Thread
- Scissors
- A clasp
of your choice
How To Make A Netted Bracelet Out Of Beads Step By Step
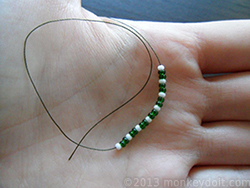
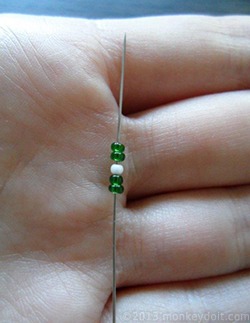
1. Cut a 2metre piece of thread and thread the needle.
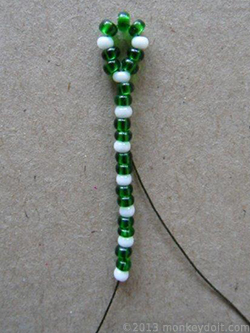
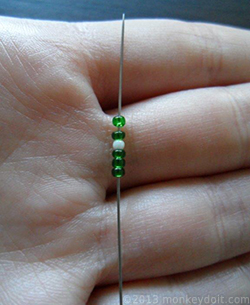
2. String one bead of colour A and two beads of colour B; repeat this sequence 7 times. Add one more bead A at the end. Slide them down to a few centimetres from the end of the thread.
3. Add three beads B, one bead A and two more beads B.
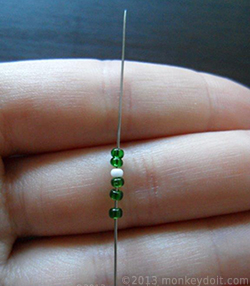
4. Push the needle down through the 10th bead from the top (or third bead A from the top) to make a loop.
 |
 |
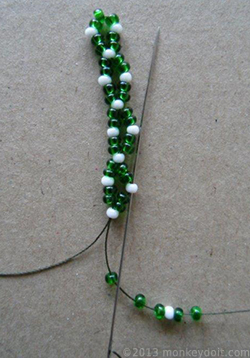
5. Slide 2 beads B, one bead A and 2 beads B onto the needle.
6. Skip 5 beads and bring the needle through the 6th bead (or 2nd bead A from the bottom).
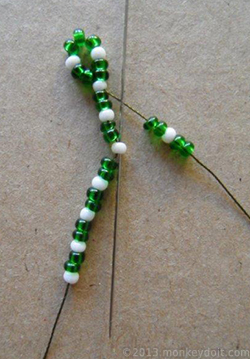
7. Repeat steps 5 and 6 until you reach the end of the row.
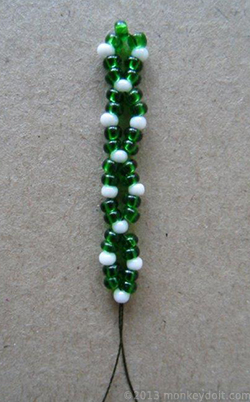
8. Put three beads B, one bead A and two beads B onto the needle.
9. Go back up through the 10th bead from the bottom (or 3rd bead A from the bottom).
10. Continue working on this row repeating steps 5 and 6.
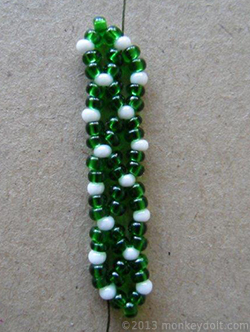
11. Remember that every time you start a new row, you need to repeat step 8.
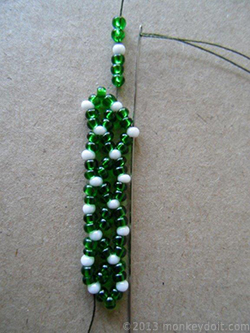
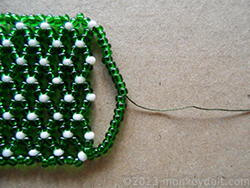
12. When you reach the required length of the bracelet tie a knot at the base of the last bead of the row.
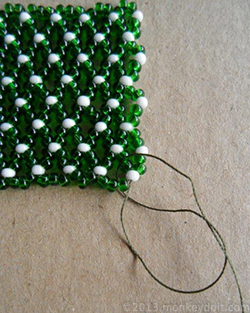
13. Go back up through the last bead of the row.
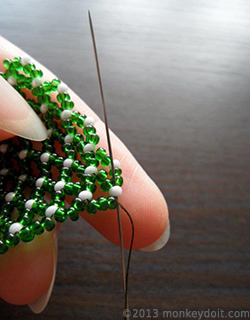
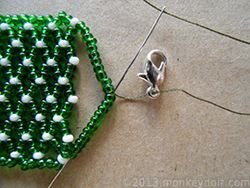
14. String as many beads as you need to reach the opposite end of the row and push the needle through bead A.
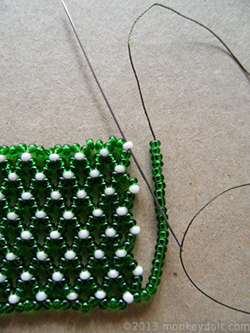
15. Tie a knot at the base of the bead.
16. Bring the needle back halfway through the beads.
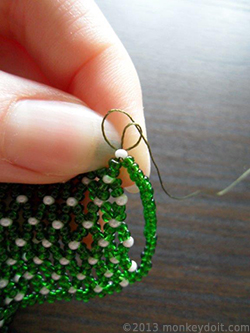
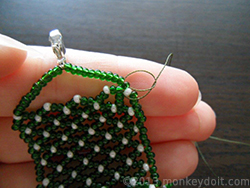
17. Attach the clasp you have chosen for your bracelet and push the needle through the remaining beads.
18. Secure the thread in place with a knot.
19. Weave the thread through a couple of beads in any direction to bury the knot and cut the remaining thread as close to the beads as possible.
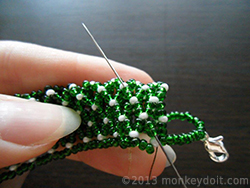
20. Repeat steps 12-19 to attach a clasp on the other side of the bracelet.
Now that you know what you’re doing, you can experiment with different sizes, colours and designs. Use the netted graph paper to help you create your own pattern. The first bead of the first row has been indicated with an arrow to avoid confusion when getting started. You can make your bracelet as wide as you want but I recommend sticking to 16 or 22 beads in one row (see graph paper). If you want to, you can modify the size of the diamond-shaped gaps by increasing the number of beads on each side; just remember it has to be an odd number. You might want to replace all or some of the seed beads with bugle beads for added affect. If I were to list all the possible modifications to the technique, I would run out of space and you would run out of patience to read it all. I suggest that you experiment a little bit on your own and see what works best for you. You can also check out my next article on how to make circular netted earrings.
Have fun!
Related Articles
How To Make Circular Netted Earrings Out Of Beads | How To Make Bead-Netted Hoop Earrings | How To Make A Woven Bracelet Out Of Beads | How To Make A Tubular Bracelet Out Of Beads | How To Make A Floral Chainlet / Bracelet Out Of Beads